Do you want to know how to get a free domain name and right away start installing wordpress on bluehost web server? If you are the one who has a great desire of knowing how to start a blog online with a tight budget, then this article is really for you.
But before anything else, since we are talking about getting a free domain and starting a wordpress blog, to ensure the safety and security of your blog, I suggest that you also read the following articles after reading this one:
- How to Backup WordPress Site Using Updraftplus WordPress Plugin
- How To Restore WordPress Site Using Backups From Google Drive
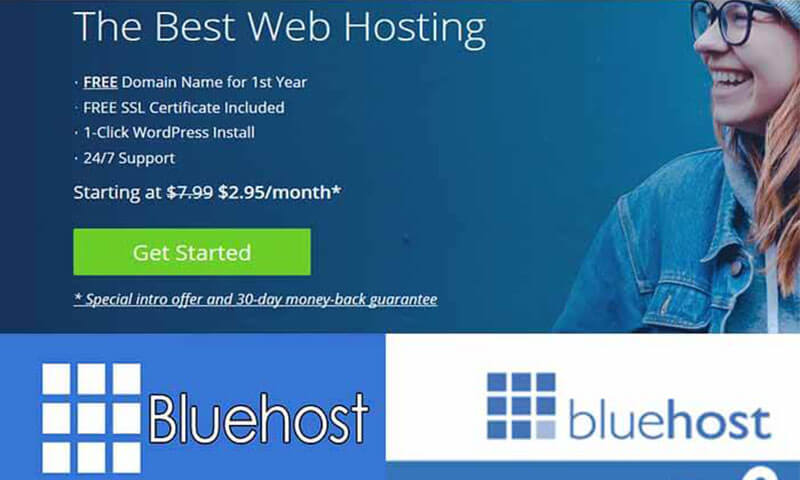
You can start a blog with a free domain and a very cheap web hosting plan offered by bluehost. Do you know that bluehost is one of the most trusted web hosting providers and is one of the most recommended web hosting companies by wordpress community? Bluehost is powering more than 2 million websites from around the world as of this very moment.
Get A Free Domain, Cheap But Reliable Web Hosting And Beyond
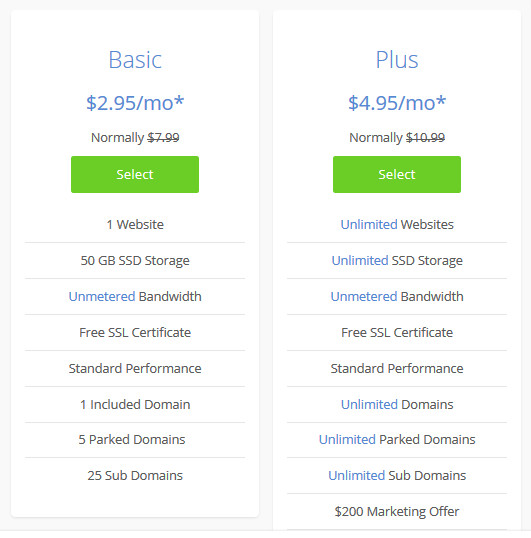
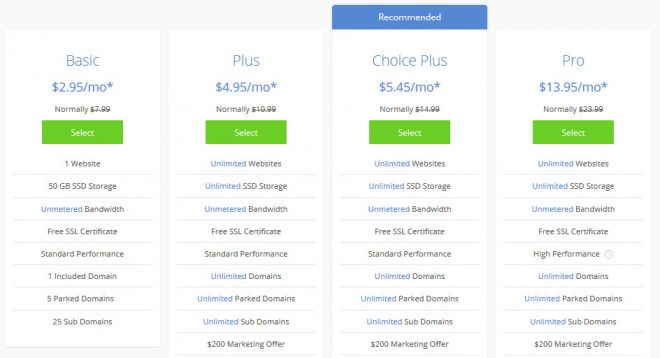
Take a look at what you can get once you register an account with bluehost’s Basic or Plus Plan: (Click here to register an account with Bluehost)
So, with this being said, for you to start building wordpress site using bluehost, let me teach you how to get a free domain and install wordpress on bluehost web server.
But if you already know everything about installing wordpress and want to directly take advantage of bluehost’s free domain and discount, just click the button below which will lead you to bluehost page and take advantage of the discount right away.
How To Create Bluehost Account
Okay, so before we can install WordPress, you first just need to create a bluehost account. If you don’t have an account with bluehost yet, click here to register an account to get your free domain and avail of bluehost’s big discount.
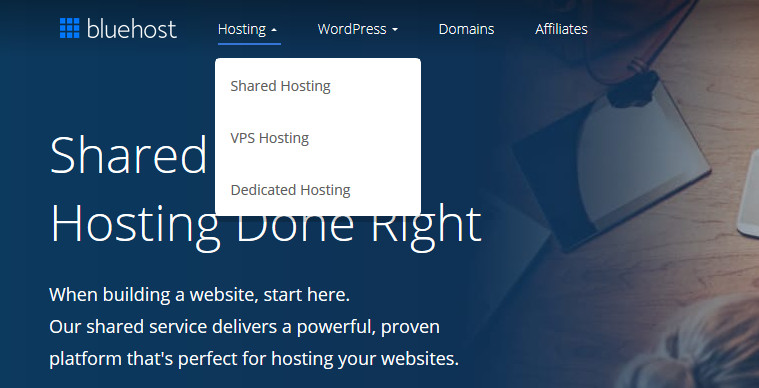
We can do that by just going to bluehost.com. Then if we hover over Hosting at the top, and click Shared Hosting, this is going to show us the four different shared hosting plans that bluehost is currently offering.
Choosing Bluehost Plans
Let me be honest here, if this is your first-time building website online, the Plus plan is a little bit of overkill. But if you are planning to have more than one wordpress sites, you can go for the Plus Plan.
But for starters and if you are only planning to have one wordpress blog, you can go for the basic plan.
So now, let’s get started with the basic plan for the meantime by clicking the select button underneath.
That’s then it’s going to bring us to this page, which is where we can register our free domain that comes with our account.
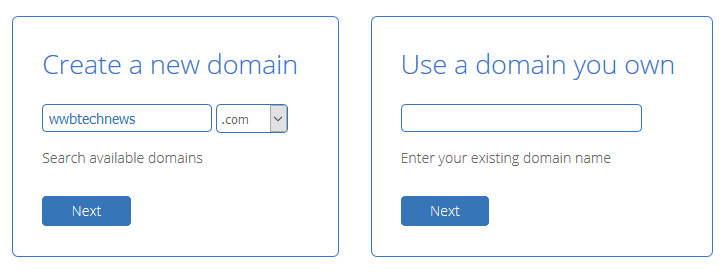
Choosing And Adding A Free Domain On Bluehost
So, we just need to type the domain name we are wanting to register into this box. Then we can choose our domain extension and click next.
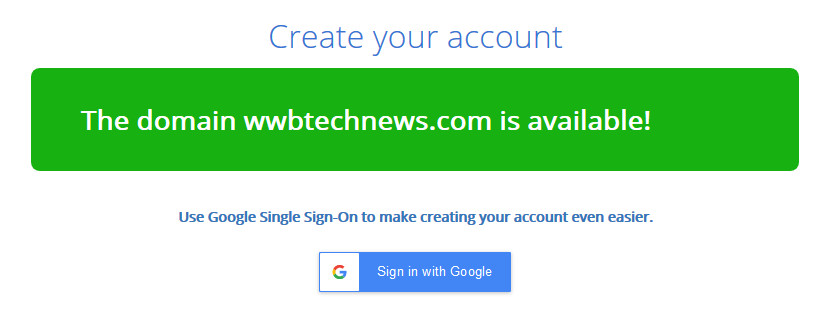
When we do that, we should be able to see a message saying our domain is available, but if the domain you type in is already taken, of course, it will show up that it’s not available.
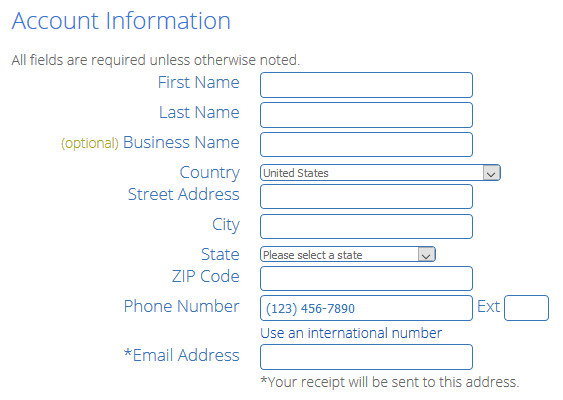
How To Pay For Bluehost Web Hosting Service
The next thing to do is to fill out our personal billing information.
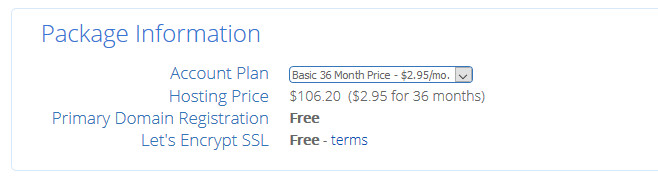
Under “package information” we can choose how often we’d like to pay for our hosting, and we’ll also see that our domain name and SSL certificate are both free!
Then under this there are 4 optional addons that you can manually include or exclude in the package. You can uncheck all those 4 addons, but if you want those addons you can leave it include in the package.
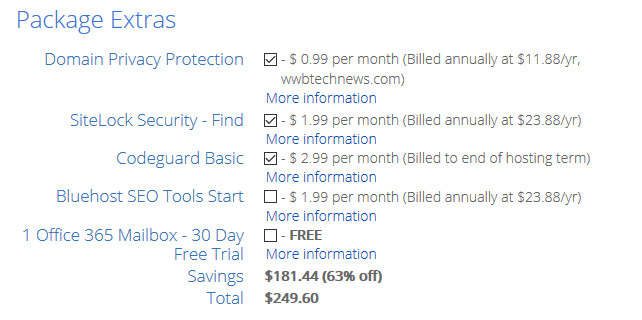
Then underneath we’ll see our final bill, along with how much we’re saving! If we are going to uncheck the boxes for all the addons our bill’s final amount will be lowered down.

At the time of writing this article, the discount for the 36 months plan is 63% resulting to the final amount of $106.20 for 36 months or 3years. That gives us a monthly price of $2.95 for 3 years.

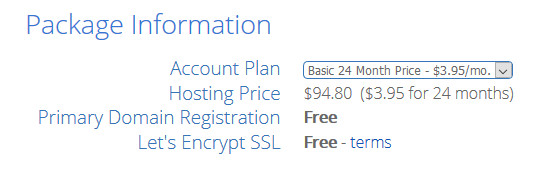
If you choose 24 months or two-year plan, the final amount excluding the addons is $94.80 with the discount of 53%.
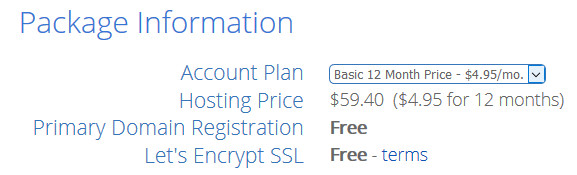
If you take the one year/12 months plan, the final amount you are going to pay is $59.40
So, be sure to take advantage of bluehost discount now by clicking the button below:
I’ll keep updating this post so that you can always take advantage of whatever discount bluehost has to offer.
So now, once we are already happy with everything we have in the hosting package, we just need to enter our payment details underneath, and if we don’t want to use a credit card, we can click where it says “more payment options”, and choose PayPal instead.
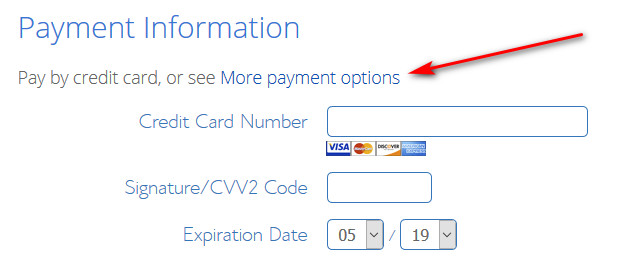
Then finally, we just need to check the box at the bottom, and then click the “Submit” button to checkout.
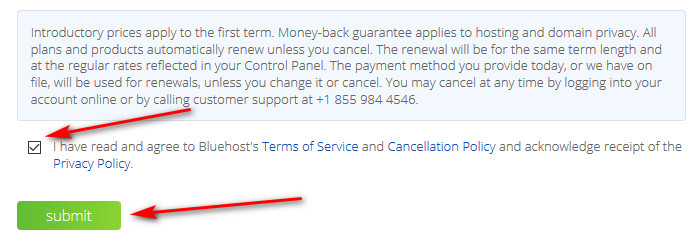
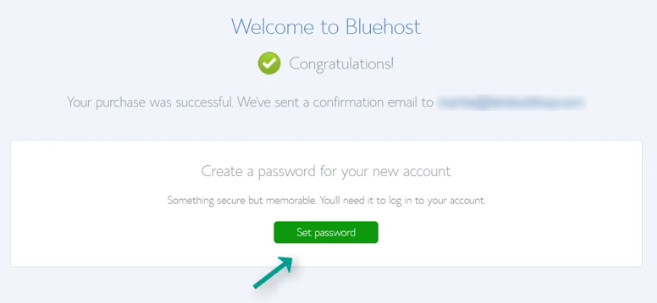
When you are finished paying for our order, you’ll be brought to the confirmation page, and at this point you’re just going to click where it says “set password”.
Setting Up Your First WordPress Login Credentials With Bluehost
Then here we can enter the password we want to use for logging into our site. Check the box to agree to the terms, and click next.
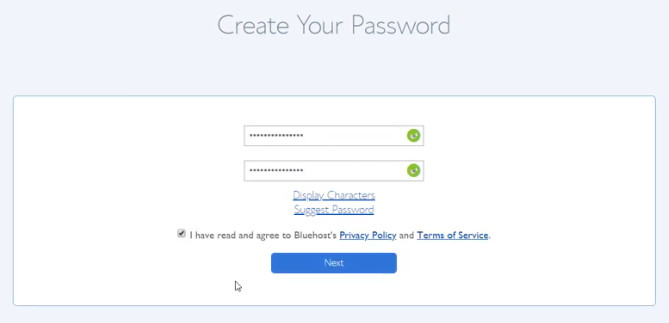
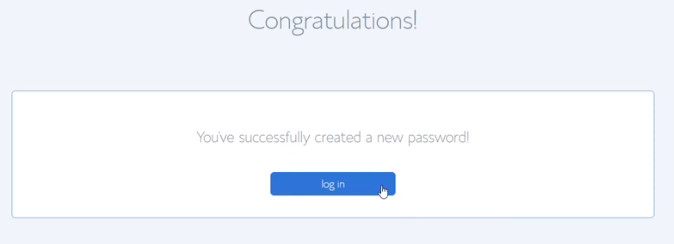
After that, you’ll be brought to a page that says CONGRATULATIONS with login button below it. Now if we click on “Login”, bluehost will start installing wordpress to your server right away.
It’s only going to take a few seconds, and once it’s done, we’ll be shown a few different themes we can use for our WordPress blog. If you see the one you like, you can hover over it and click “use this theme”.
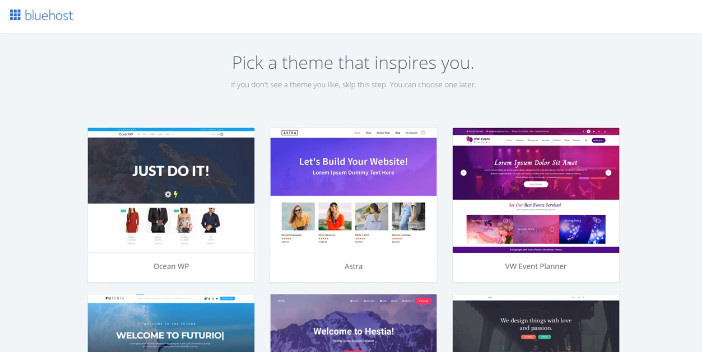
Or if you don’t see one you like, you can click “skip this step” at the bottom and choose a different one later.
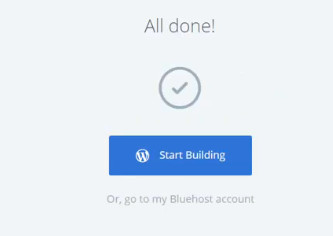
But either way, once we do this, we can click “Start Building” and we’ll be logged into what’s known as our “WordPress dashboard”, and this is where we can add any content, or make any changes to our blog which by the way is already live online!

Installing WordPress Manually On Bluehost Account
Just before we visit our blog, I want to quickly cover how to install wordpress platform if we already passed the auto setup process.
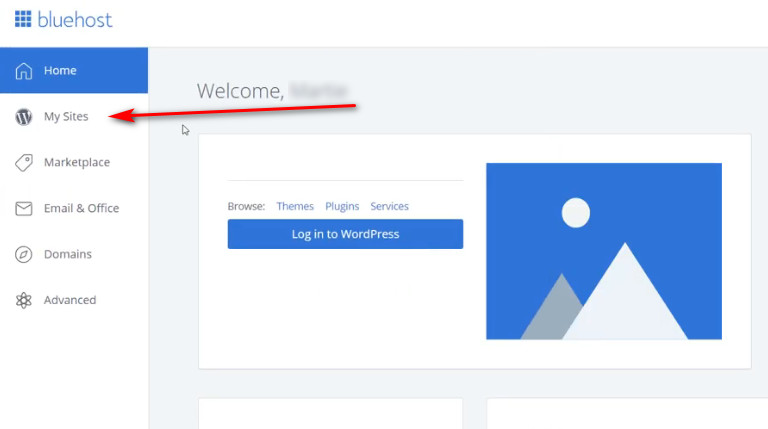
It is done a little bit differently, but it’s just as easy! So, if this is the case with you, you just need to login to your bluehost account, choose “my sites” on the left, and then click “create a site” in the top-right.

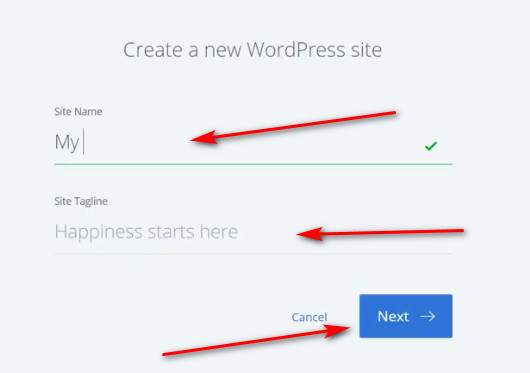
Then here below we’re going to enter our blog title, our tagline, and click next.
Now we can choose the domain name we want to use from the drop-down list, and click next.
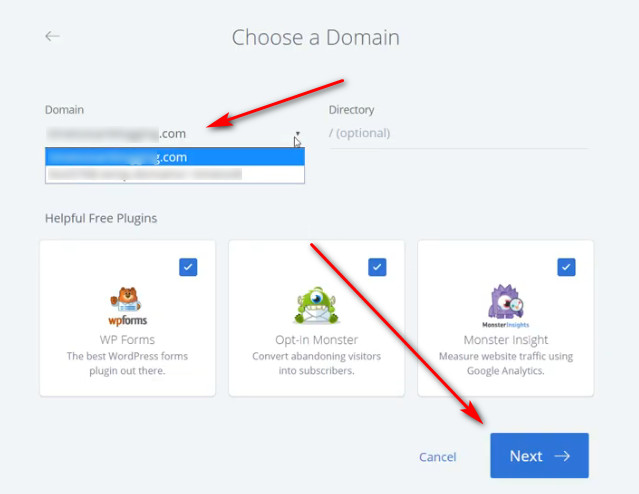
By doing this, wordpress is going to be installed for us and it’s only going to take a few seconds.
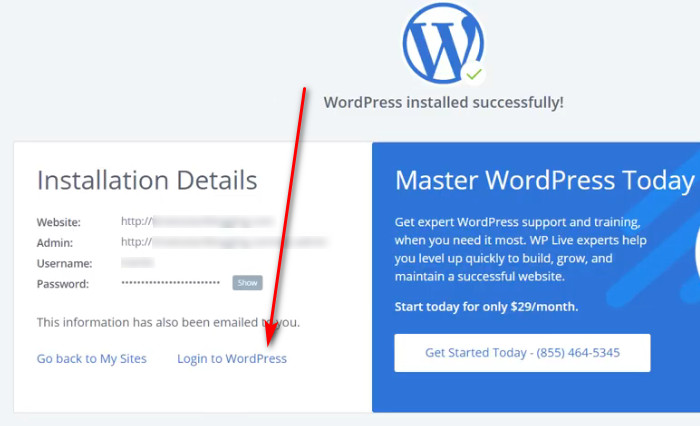
Once it’s done, we can click the “log into WordPress” like the one shown below, and we’ll be logging into our WordPress dashboard.
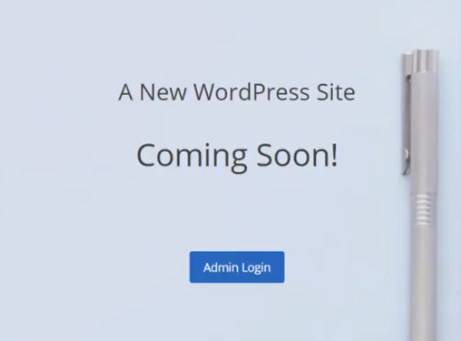
One of the good things about bluehost is that after installing wordpress platform to your site, your site will not be automatically live. That’s good because, of course, there is no content available on the site yet.
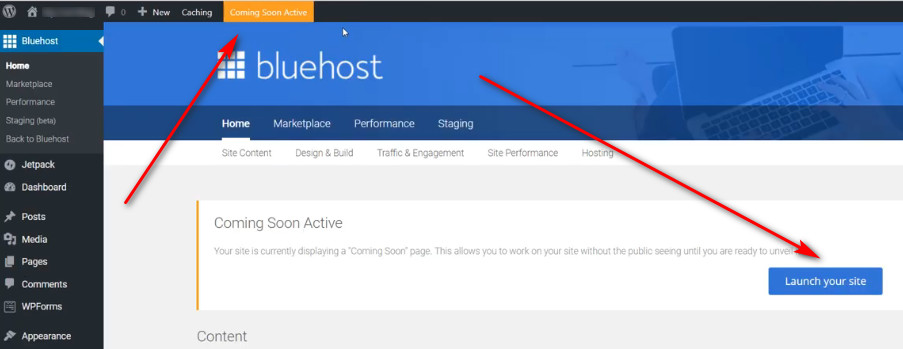
But what you can expect to see after you install wordpress cms on your bluehost account is this coming soon page below:
Checking the Newly Installed Live WordPress Site
On the wordpress dashboard, (Follow the image below) when you click where it says “Coming Soon” at the top and then if we click “launch site” button, your blog will be completely live online.
But for now, you can hold off on this since the site has no content yet, it’s better not to make live for now until you some contents to it.
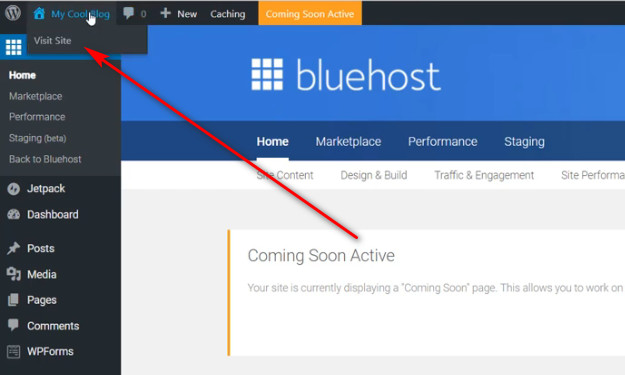
You can also check and visit the main home page of your site if you click on the site title located on the upper left corner of your site’s wordpress dashboard and then click on the drop down which says visit site. You will not be brought to the coming soon page since you are login in and you are the admin of the site.
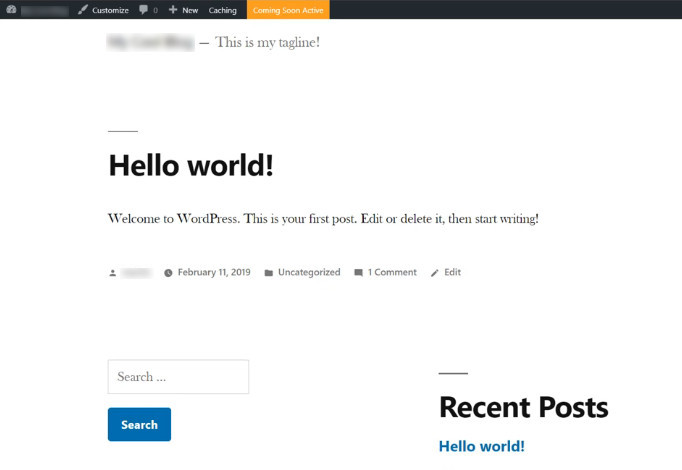
You will see that the homepage of your site is at the moment has some demo content and will either be using a demo theme or the theme you chose during installation.
And that concludes my in-depth tutorial on how to get a free domain and install wordpress on bluehost account. This article also answered the most common question many newbies always have asked – “How To Start A Blog”.
So, now it’s your turn to get a free domain and great web hosting discount from bluehost. Click the button below to start getting big web hosting discount with free domain from bluehost.
If you found this article helpful, don’t forget to share this with others on social media or let your friends know about this.
If you have any idea or suggestion or if you have any comment about bluehost or this article, please leave it via the comment section of this article.