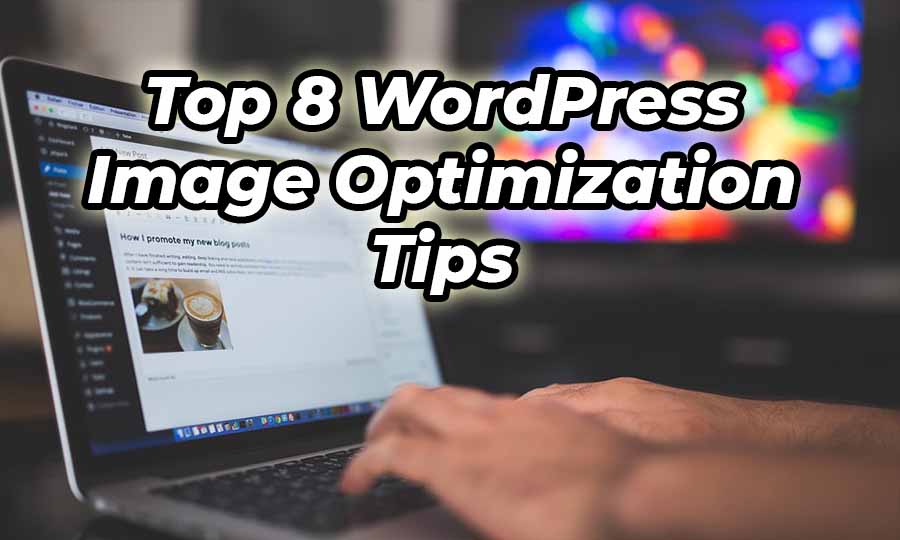
Top 8 Image Optimization Tips for a Faster WordPress Site
Welcome to my free guide on “WordPress Image Optimization Tips” – where I’ll be showing you how to optimize your website images and speed up your loading time! As a wise person once said, “time is money, and ain’t nobody got time for a slow website.”
In this article, we’ll be talking about why website loading speed is important and why image optimization matters. After all, your website visitors are impatient and if your website takes forever to load, they’ll click away faster than you can say “Jack Robinson”.
So, let’s dive in!
Table of Contents
Why Image Optimization Matters
Before we get into the tips and tricks of image optimization, let’s talk about why it’s important. Images are a great way to make your website look beautiful and appealing to your visitors, but they can also slow your website down if they are not optimized.
The larger the image file size, the longer it takes for your website to load. This means that if you have a ton of unoptimized images on your website, your loading time is going to be slower than a snail on a leisurely stroll. Ain’t nobody got time for that!
That’s where image optimization comes in. By optimizing your images, you can reduce their file size and improve your website’s performance. This means your website will load faster and your visitors will be happy as a clam (or maybe even happier, who knows).
So, if you’re ready to optimize your website images and make your website lightning fast, let’s get started!
1. Choose the Right Image File Type
When it comes to optimizing your images, choosing the right file type can make all the difference. There are three main types of image files: JPEG, PNG, and GIF. Let’s take a closer look at each one.
- JPEG: This file type is best used for images with lots of colors, such as photographs. JPEG files can be compressed to reduce their size, but too much compression can result in a loss of image quality.
- PNG: This file type is best used for images with fewer colors, such as logos or graphics. PNG files can be compressed without losing image quality, but they tend to be larger in file size than JPEG files.
- GIF: This file type is best used for simple animations or graphics. GIF files can be compressed, but they are limited in the number of colors they can display.
So, which file type should you use? It depends on the type of image you have. If you have a photograph with lots of colors, use a JPEG file. If you have a logo or graphic with fewer colors, use a PNG file. If you have a simple animation or graphic, use a GIF file.
2. Compress Images
Image compression is the process of reducing the file size of an image without sacrificing image quality. This is important because large image file sizes can slow down your website’s loading time.
There are many tools available to compress your images, such as TinyPNG, ShortPixel, and Kraken. These tools work by reducing the number of colors in the image, removing unnecessary metadata, and compressing the image data.
The benefits of compressing your images are twofold: first, it reduces the file size of your images, which in turn improves your website’s loading time. Second, it saves space on your server, which is especially important if you have limited storage space.
To compress your images, simply upload them to a compression tool and let the tool do the work for you. Once the images are compressed, download them and upload them to your website. It’s that easy!
Choosing the right image file type and compressing your images are two important WordPress Image Optimization Tips that can help improve your website’s loading time. Stay tuned for the next set of tips on optimizing image size and using lazy loading!
3. Use Lazy Loading
Have you ever visited a website and noticed that the images below the fold took a while to load? This is where lazy loading comes in. Lazy loading is the process of loading images only when they are needed, rather than loading all the images on a page at once.
Lazy loading has several benefits for your website, including faster loading times and reduced server load. By only loading the images that are visible on the screen, your website can load faster and use fewer server resources.
To enable lazy loading in WordPress, you can use plugins such as Lazy Load or WP Rocket. These plugins work by replacing the actual image with a placeholder image, which is loaded first. Then, as the user scrolls down the page, the actual images are loaded one by one.
Here are five of the best lazy load WordPress plugins you can start implementing on your wordpress site:
- Lazy Load by WP Rocket: This plugin is developed by WP Rocket, a popular WordPress caching plugin. It has a user-friendly interface and offers several advanced features like preloading and custom loading placeholders.
- a3 Lazy Load: This plugin offers a range of lazy loading options, including images, iframes, videos, and even background images. It’s lightweight and easy to use, making it a popular choice among WordPress users.
- BJ Lazy Load: This plugin is designed to work with all types of images, including thumbnails, Gravatars, and avatars. It’s also compatible with responsive images, which helps to further optimize the loading time of your website.
- Lazy Load Optimizer: This plugin offers a range of customization options, including the ability to set the lazy load threshold, adjust the loading delay, and enable or disable lazy loading for specific pages or posts.
- Unveil Lazy Load: This plugin is simple and lightweight, making it a good option for beginners. It offers basic lazy loading functionality for images, and has a small footprint that won’t slow down your website.
Enabling lazy loading is a simple and effective way to improve your website’s loading time. Plus, it’s a great way to give your users a better experience by ensuring that they can view your content quickly and easily.
Lazy loading is a powerful WordPress Image Optimization Tip that can help improve your website’s loading time. Don’t let slow-loading images drag your website down – try using lazy loading today!
4. Optimize Image Size
Size matters! When it comes to optimizing your images for your WordPress website, one of the key things to consider is the size of your images. Large images can cause your website to slow down, while smaller images can improve loading time and user experience.
To determine the ideal image size for your website, you should consider the width of your content area and the resolution of your images. You can also use online tools such as Canva or Adobe Photoshop to resize your images to the ideal size.
In WordPress, you can easily resize images by selecting the image in the media library and clicking on the edit button. From there, you can adjust the size of the image to fit your website’s needs.
By optimizing your image size, you can improve your website’s loading time and provide a better user experience for your visitors.
5. Optimize Image Name and Alt Tags
Image name and alt tags may sound like something out of a science fiction movie, but they are actually important tools for optimizing your images and improving your website’s SEO.
Image name and alt tags are descriptions that tell search engines and users what your image is about. By optimizing your image name and alt tags, you can help your images appear in search results and improve your website’s overall ranking.
To optimize your image name and alt tags in WordPress, simply select the image in the media library and click on the edit button. From there, you can add a descriptive name and alt tag to the image.
So, don’t let your images go unnoticed by search engines and users – optimize your image name and alt tags!
Make sure to include all the necessary keywords in those tags, too. That way, you’ll be sure to show up in the top search results — and, who knows, maybe even be the envy of all your friends!
6. Use a Content Delivery Network (CDN)
If you want to take your image optimization to the next level, consider using a Content Delivery Network, or CDN for short. A CDN is a network of servers that work together to deliver your website’s content, including images, to your visitors faster.
By using a CDN, your images can be delivered from the server closest to your visitor, reducing the time it takes for the image to load. This can have a significant impact on your website’s loading speed and overall performance.
To use a CDN in WordPress, you can use plugins like Cloudflare, MaxCDN, or any other CDN service that integrates with WordPress. These plugins will help you set up your CDN and configure it to work with your website’s images.
7. Disable Hotlinking
Hotlinking is when someone uses an image from your website on their own website, without actually downloading and saving the image to their own server. This can be detrimental to your website’s performance because it increases the load on your server, and can slow down your website.
To disable hotlinking in WordPress, you can use plugins like All In One WP Security. These plugins will allow you to prevent other websites from using your images without permission, and will also give you greater control over your website’s security.
By disabling hotlinking, you can ensure that your website’s images are only being served to your own visitors, which can improve your website’s overall performance and protect your content.
8. Remove Unused Images
As you continue to upload images to your WordPress website, you may find that some of them are no longer needed or used. Unused images can take up valuable storage space and slow down your website’s loading speed. Therefore, it is important to identify and remove them regularly.
Removing unused images from your WordPress website can have several benefits, including:
- Faster loading speed: Unused images can still be loaded by the browser, which can slow down your website’s performance. Removing them reduces the amount of data that needs to be loaded and can improve loading speed.
- Lower storage usage: Removing unused images can free up storage space on your server. This can be especially important if you have limited storage space or are approaching your hosting plan’s storage limit.
- Better organization: Removing unused images can help you keep your media library organized and make it easier to find the images you need.
How to identify and remove unused images in WordPress
- Use a plugin: There are several WordPress plugins that can help you identify and remove unused images, such as Media Cleaner, or WP-Optimize.
- Manually search for unused images: You can also manually search for unused images in your media library by looking for images that are not attached to any posts or pages. To do this, go to your media library, click on the “Unattached” tab, and delete any images that you don’t need.
Conclusion
In conclusion, optimizing images is crucial for improving your website’s loading speed and overall performance. By following the top 10 WordPress image optimization tips outlined in this article, you can reduce your website’s load time and provide a better user experience for your visitors.
By implementing these tips, you can optimize your images for the web and improve your website’s loading speed, which can lead to better user engagement, increased traffic, and higher search engine rankings.
Not to mention, your website will look even better and you’ll be able to brag about it to your friends and family. You’ll be able to tell them, “Hey, my website looks great and it loads faster than the speed of light!”